Whether you’re a seasoned firearm enthusiast or new to the world of shooting sports, understanding ammunition is essential. Selecting the right ammunition not only influences your shooting experience but also ensures safety and effectiveness. Here’s our A Complete Guide to Ammunition: Types, Uses, and Safety Tips.
This blog will cover the basic types of ammunition, their specific uses, how to choose one that suits your needs, as well as tips for safe storage and legal considerations. By the end, you’ll have a comprehensive understanding of what’s best for your individual purpose.
What is Ammunition?
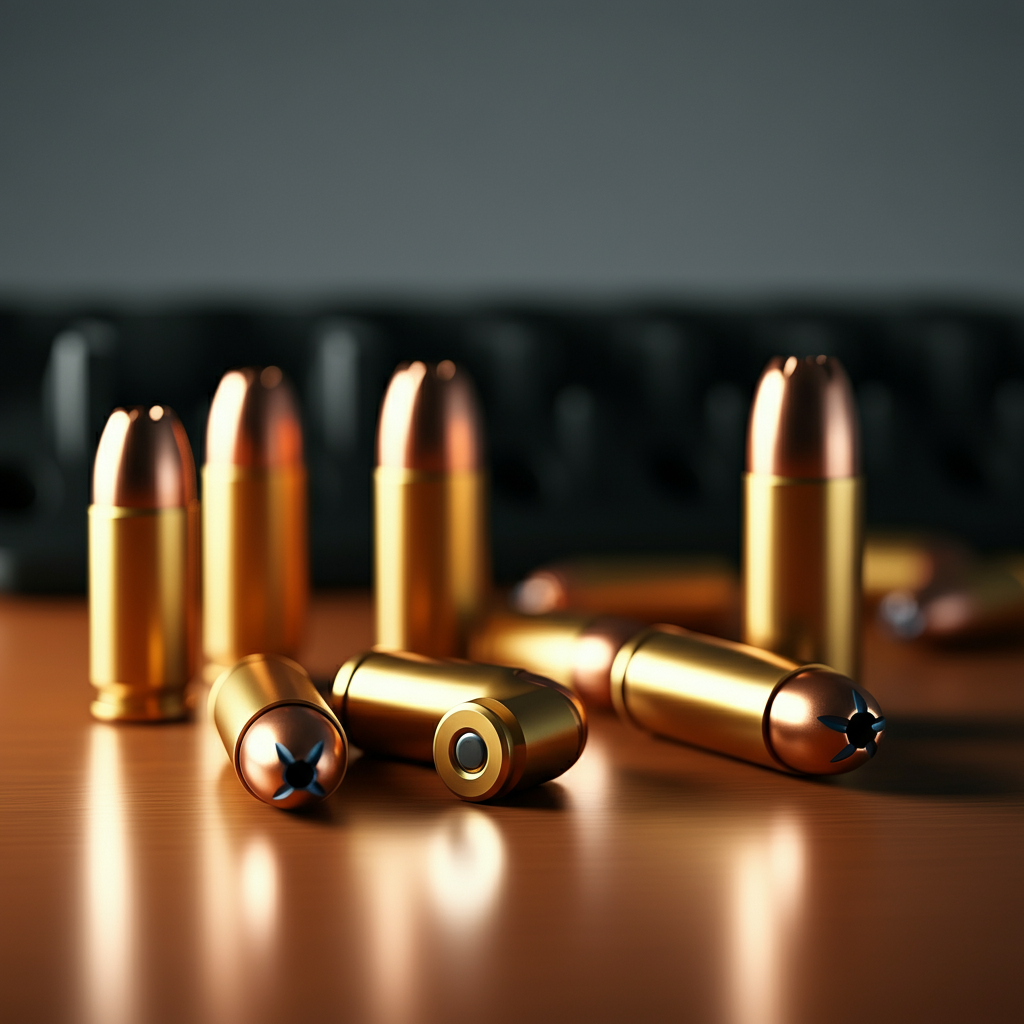
Ammunition, often referred to as “ammo,” consists of the projectiles, powders, primers, and casings needed to propel a bullet or other projectile from a firearm. Although people often think only of bullets, ammunition is a broader term including a variety of round types, each designed for a specific purpose.
Components of Ammunition
Each cartridge generally consists of four main components:
Case – The shell that holds all other components; typically made of brass, steel, or aluminum.
Primer – The ignition source that lights the gunpowder when struck.
Gunpowder – A chemical fuel that creates pressure to propel the projectile.
Projectile/Bullet – The part that is fired toward a target.
Now that we understand the basics of ammunition, let’s explore the different types.
Types of Ammunition and Their Uses
Ammunition can vary widely based on its design and intended use. Here are the most common types and what they’re used for:
1. Handgun Ammunition
Handgun ammunition is designed for pistols and revolvers, and it’s most commonly used for self-defense, sport shooting, and law enforcement. Popular types include:
9mm Luger – Known for its balance of power and low recoil, ideal for personal defense and target practice.
.45 ACP – A heavier round offering significant stopping power.
.38 Special – A versatile option, often used in revolvers.
2. Rifle Ammunition
Primarily used for hunting, long-range target shooting, and military purposes, rifle ammo comes in various calibers, including:
.223 Remington/5.56 NATO – Popular for small game hunting and sport shooting.
.308 Winchester – A powerful round used for big game hunting and tactical applications.
.30-06 Springfield – Ideal for larger game like elk or moose.
3. Shotgun Ammunition
Shotguns fire shells instead of cartridges, and these shells may contain pellets (shot), a single slug, or specialty payloads. Common shotgun uses include hunting, home defense, and clay shooting:
Birdshot – Small pellets used for bird hunting.
Buckshot – Larger pellets designed for home defense or larger game.
Slugs – A single, solid projectile ideal for precise shooting.
4. Specialty Ammunition
For specific needs, specialty ammunition offers unique features:
Hollow-Point Bullets – Designed to expand upon impact, making them highly effective for self-defense.
Armor-Piercing Rounds – Used in tactical or military scenarios (restricted for civilian use in many jurisdictions).
Tracer Rounds – Leave a bright trail, commonly used for training or signaling.
Choosing the Right Ammunition
Selecting ammunition depends on factors like firearm type, intended purpose, and personal preference. Here’s a breakdown of some considerations:
1. Purpose
Understanding your goals can help narrow your options:
Self-Defense – Hollow-point or frangible bullets ensure stopping power without over-penetration.
Hunting – Choose based on the game; for instance, rifle rounds like .30-06 for deer or birdshot for waterfowl.
Target Shooting – Affordable, non-specialized ammunition such as full metal jacket (FMJ) rounds is ideal for practice.
2. Caliber
Always match the ammunition caliber to your firearm. Using the wrong caliber can cause malfunctions or even damage your weapon.
3. Quality
Invest in reputable brands to ensure consistent performance and safety. Low-quality or poorly manufactured ammunition can misfire or compromise accuracy.
Safe Storage and Handling
Properly storing ammunition protects it from environmental damage and prevents accidents. Follow these tips:
1. Storage Guidelines
Cool and Dry Environment – Excess heat or moisture can damage both the primer and gunpowder, reducing reliability.
Secured Storage – Use a locked ammo box or cabinet to keep it out of reach of children and unauthorized individuals.
Organized Labeling – Clearly label each type or caliber for easy identification.
2. Good Practices
Rotate stock periodically to ensure you’re not relying on older, possibly degraded ammunition.
Never mix different calibers in the same storage container to avoid loading the wrong ammo accidentally.
Legal Considerations
Laws surrounding ammunition ownership and use vary greatly by location, so it’s important to stay informed:
Background Checks – Some states or countries require background checks for ammunition purchases.
Online Purchases – Restrictions may apply, such as the need for shipment to licensed dealers or age verification.
Specialty Rounds – Certain types, like tracers or armor-piercing rounds, may be restricted or prohibited.
Always check local, state, and federal laws to ensure you stay compliant.
Final Thoughts
Ammunition is an integral part of firearm use, and understanding its different types, purposes, and guidelines can enhance your experience while ensuring safety. Whether you’re using it for self-defense, hunting, or sport, choosing the right ammo matters.
Remember to store ammunition responsibly, and always stay up to date on legal regulations. By doing so, you’ll not only be a responsible gun owner but also enjoy a more rewarding shooting experience.
If you’re looking to explore specific types of ammunition or need tips on buying the right ammo for your needs, feel free to leave a comment or get in touch!
Your blog post on ammunition is ready! Let me know if you’d like any adjustments or need help with something else.