Why Knife Sharpening is Crucial for Outdoor Survival
Essential Knife Sharpening – A sharp knife is more than just a cutting tool; it’s a versatile instrument essential for various tasks such as preparing food, building shelters, crafting tools, and self-defense. Dull knives not only make these tasks more difficult but also increase the risk of injury. Therefore, keeping your knife sharp is critical for your safety and efficiency in outdoor survival situations.
Basic Knife Sharpening Tools
Before we get into the nitty-gritty of knife sharpening, it’s essential to know the tools you’ll need:
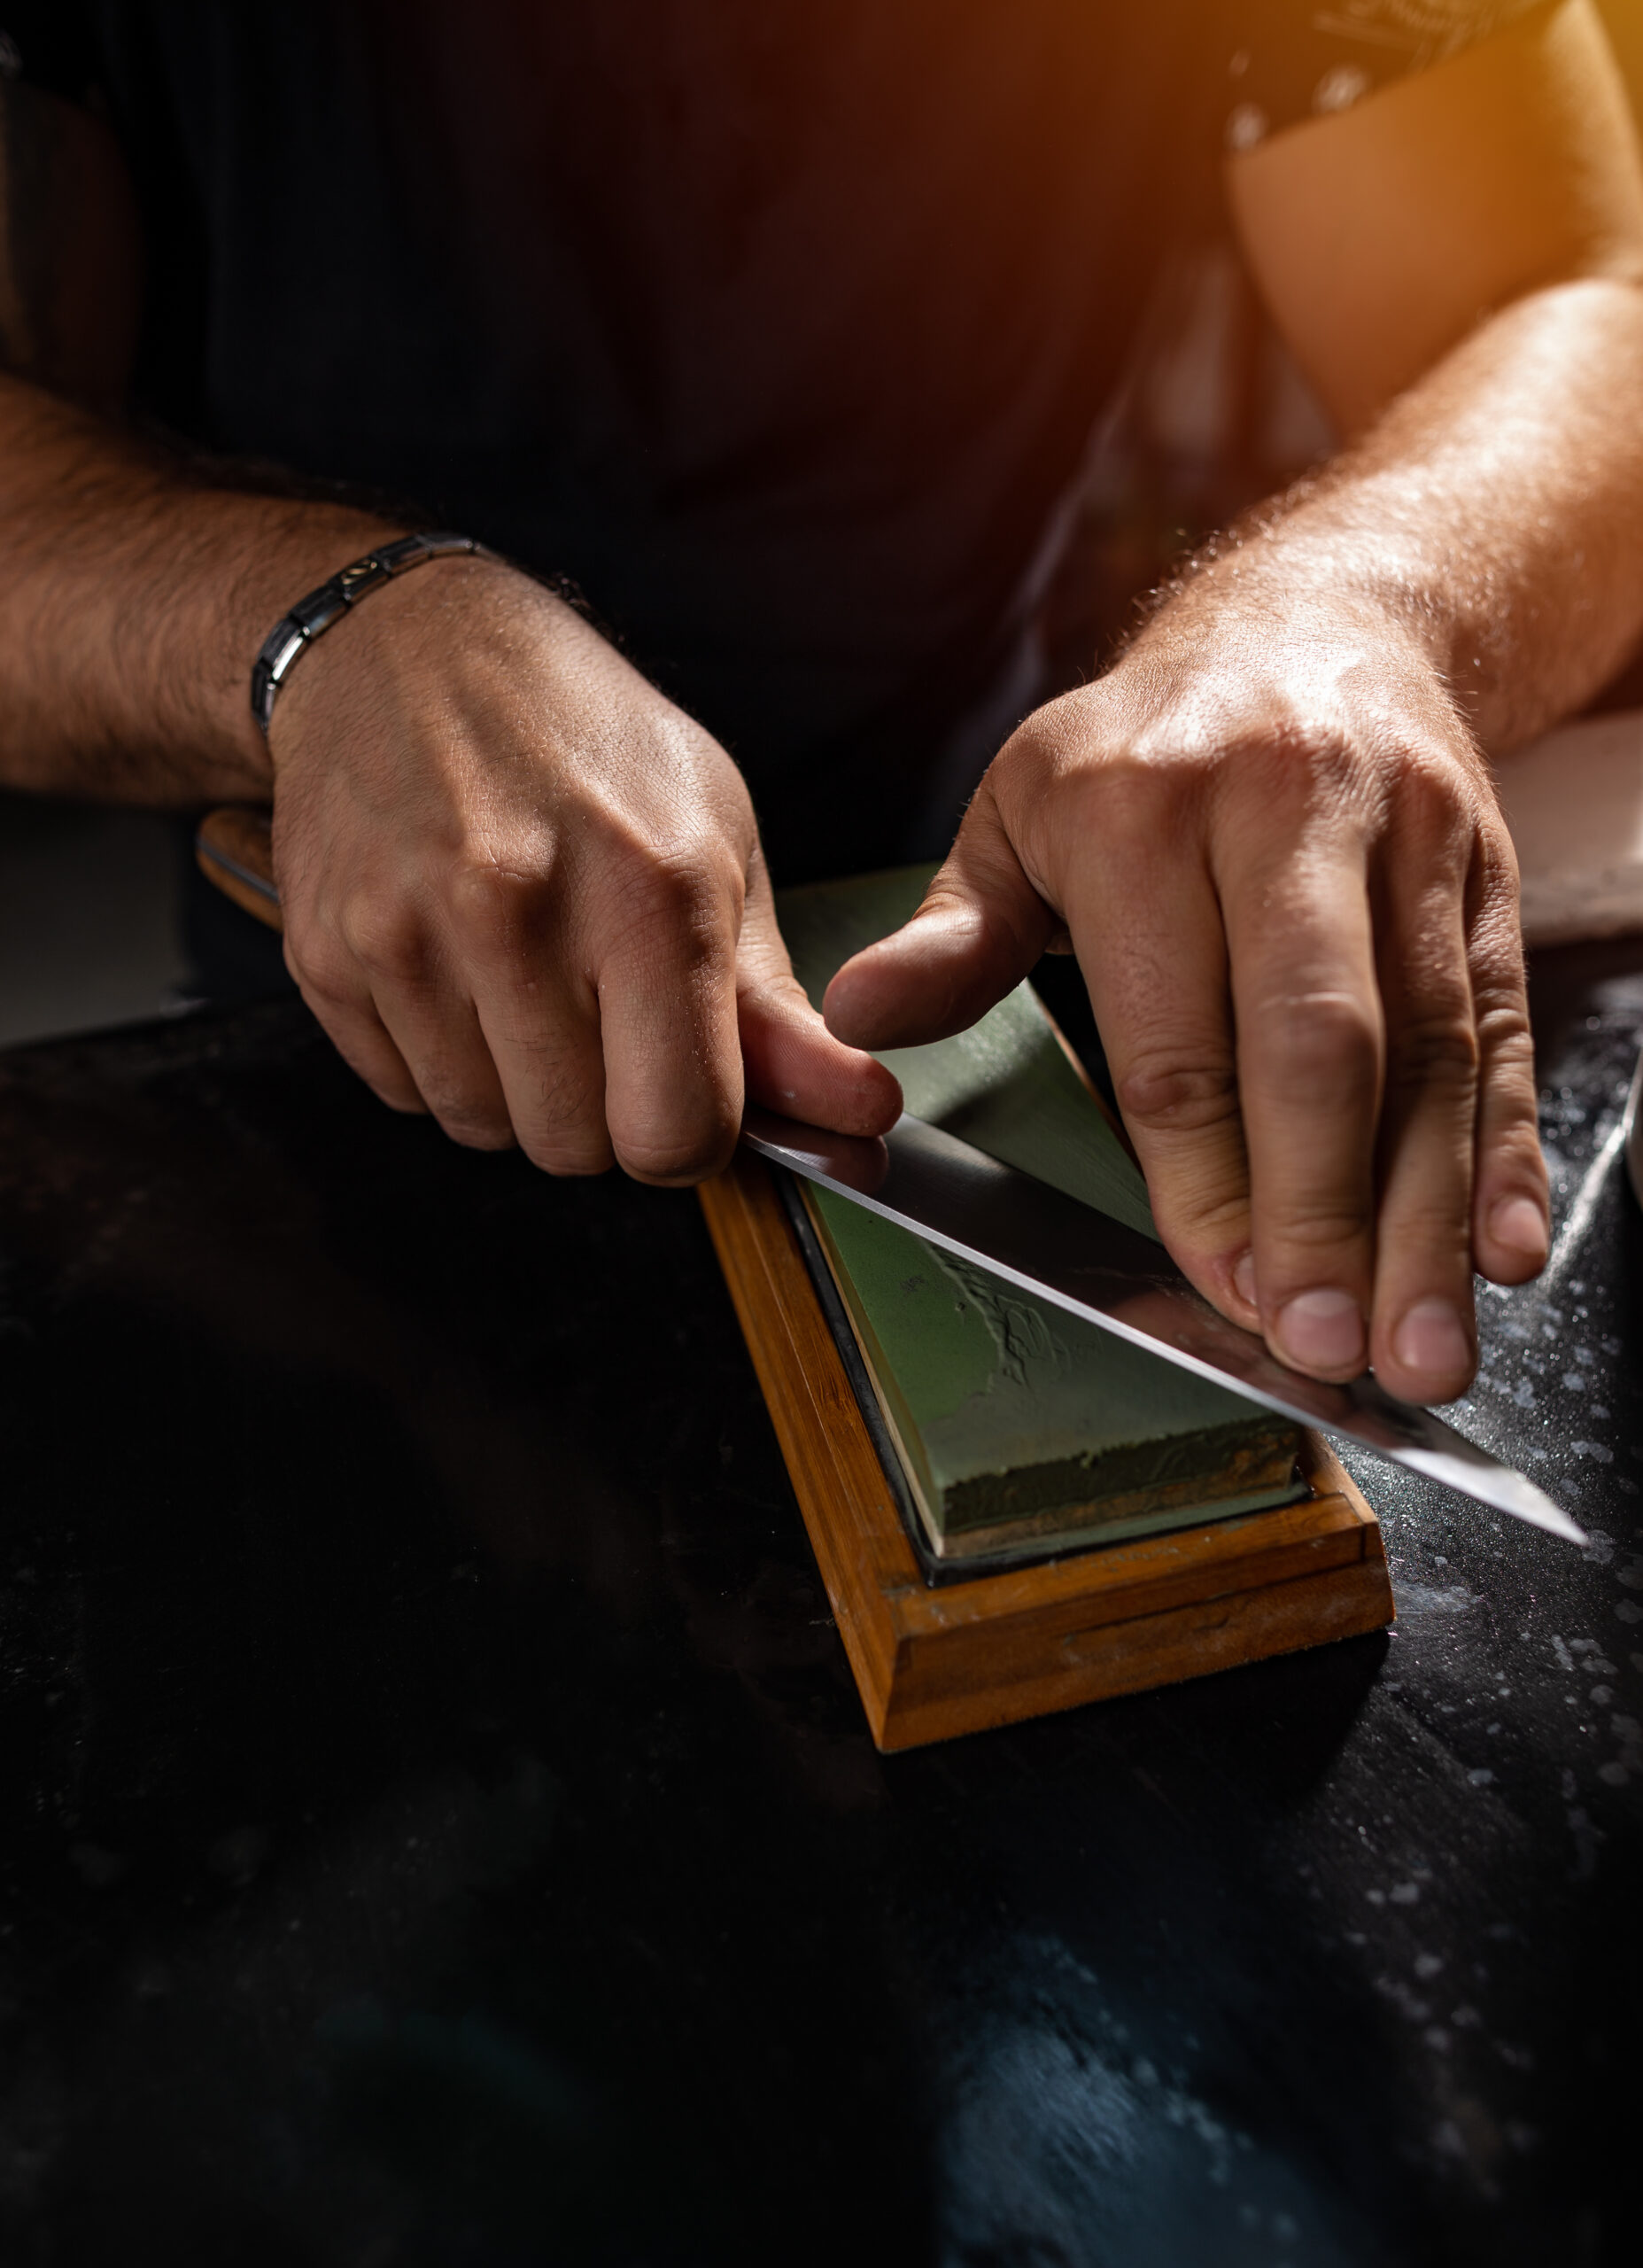
- Sharpening Stone or Whetstone: Available in different grits, a whetstone is a must-have for achieving a razor-sharp edge.
- Honing Rod: Used to realign the blade edge between sharpening sessions.
- Knife Sharpener: Manual or electric sharpeners can be convenient, especially for quick touch-ups.
- Strop: Typically made of leather, a strop is used for the final polishing of the blade to achieve a keen edge.
Step-by-Step Knife Sharpening Guide
- Choose the Right Angle
The angle at which you sharpen your knife is crucial. For outdoor and survival knives, a 20-degree angle is generally recommended. This angle provides a good balance between sharpness and edge durability. - Prepare the Sharpening Stone
If you’re using a whetstone, soak it in water for about 10-15 minutes before use. Some stones may require oil instead; check the manufacturer’s instructions. - Start with the Coarse Grit
Place the knife on the stone at the chosen angle and draw the blade across the stone, from the heel to the tip. Repeat this motion several times, maintaining consistent pressure. If your stone has a coarse side and a fine side, start with the coarse grit and then move to the fine grit. - Flip and Repeat
After working on one side of the blade, flip the knife and repeat the process on the other side. Ensure you maintain the same angle and pressure. - Hone the Blade
Once you’ve achieved the desired sharpness, use a honing rod to realign the blade edge. This step is crucial for maintaining the sharpness of your knife over time. - Strop for a Razor-Sharp Edge
Finally, use a strop to polish the blade. This step removes any remaining burrs and gives your knife a razor-sharp finish.
Common Mistakes to Avoid
- Inconsistent Angle: Maintaining a consistent angle is vital for effective sharpening. Use an angle guide if necessary.
- Skipping the Strop: Neglecting the stropping process can result in a less sharp blade.
- Applying Too Much Pressure: Excessive pressure can damage the blade and the sharpening stone.
Tips for Maintaining Your Knife - Regular Maintenance: Regularly hone your knife to keep the edge aligned.
- Proper Storage: Store your knife in a dry place to prevent rust.
- Use the Right Tool for the Job: Avoid using your knife for tasks it’s not designed for, such as prying or hammering.
Sharpening your knife is an essential skill for outdoor enthusiasts, preppers, and survivalists. By following these guidelines, you’ll ensure your knife is always ready for any situation you might encounter. For more prepping tips and outdoor survival advice, stay tuned to our blog.
Ready to take your skills to the next level? Learn more about advanced knife sharpening techniques and other essential survival skills by signing up for our newsletter.
Happy sharpening, and stay prepared!
Check out our complete line of products here
Products:
12 Gauge Dragon’s Breath Shot Gun Ammunition
Videos:
